In this tutorial, we will learn how to set up an FTP server on Windows using FileZilla Server. You can use this guide to configure an FTP server on Windows 10, Windows 11, and Windows Server.
Follow These Steps to Set Up a Windows FTP Server Using FileZillaDownload and install FileZilla Server.Configure the passive mode port range.Configure the Windows Firewall.Add FTP users.Download and Install FileZilla ServerTo get started, open a web browser, navigate to https://filezilla-project.org/, and download FileZilla Server.
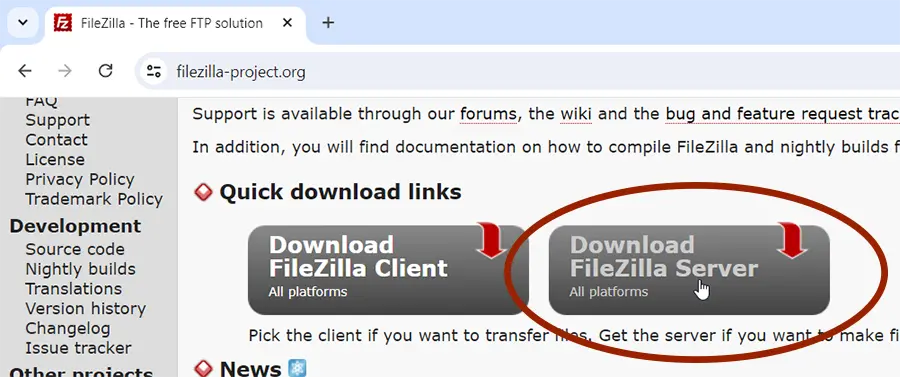 Download FileZilla Server for Windows 11
Once the download is finished, run the installer.
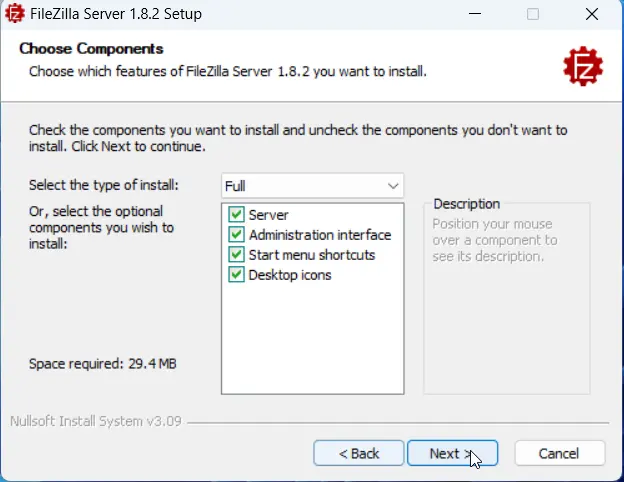 Run the installer to set up the FTP server.
During the installation process, you'll see a window with server settings. Here, we have the option to configure FileZilla Server to start automatically with Windows. This is a convenient option because it ensures your FTP server is always running whenever you need it.
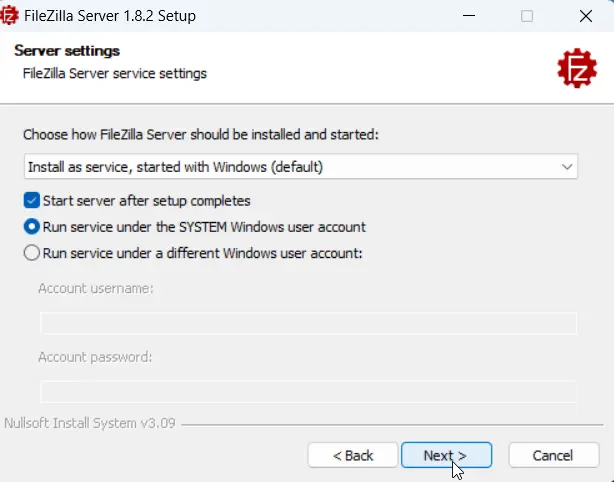 Configure FileZilla Server to start automatically with Windows.
Next, you have to create a password for the administration interface. You will need this password to change the FTP server settings.
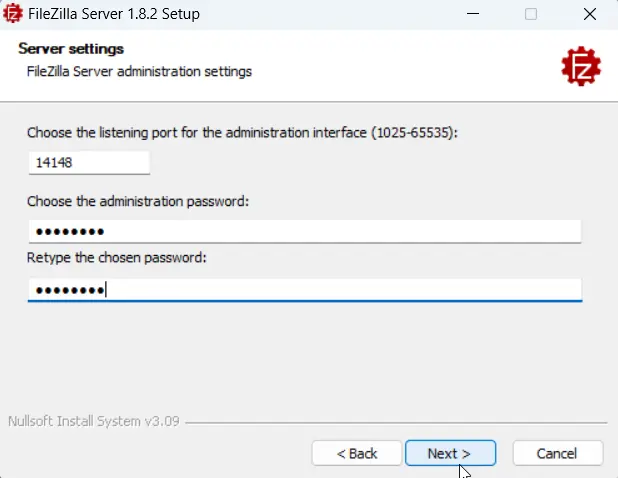 Create a password for the administration interface.
There is also an option to configure the admin interface settings. We'll keep it set to manual startup. You can always access the interface when needed using the Start menu shortcut.
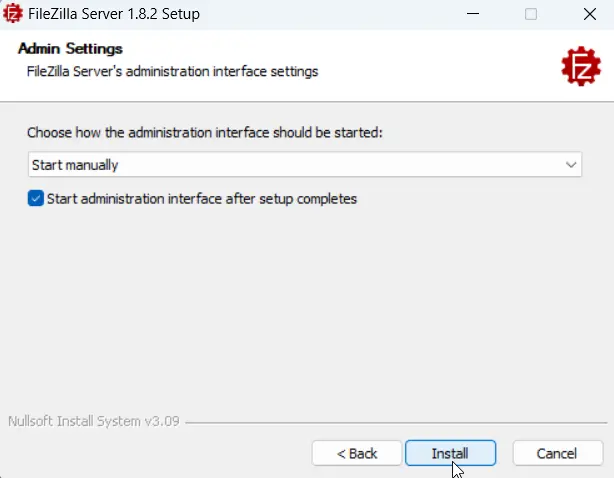 Set the FileZilla administrator interface to start manually.Configure the Passive Mode Port Range
Our next step is to configure the passive mode port range. To do that, open the administration interface (you can do this by searching for 'FileZilla Server' in the Start menu), then go to the Server menu and click "Network Configuration Wizard."
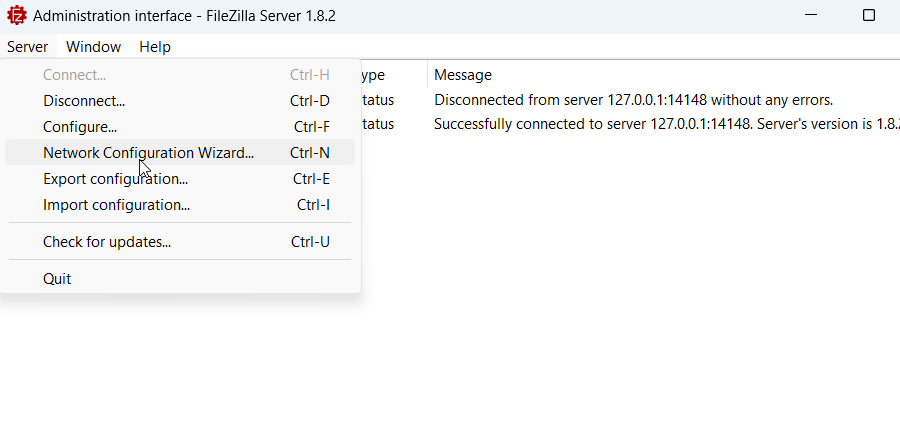 Network Configuration Wizard
In the Network Configuration Wizard, make sure to select the option that says "Use custom port range". For the port range, choose a range of unused ports that are unlikely to conflict with other applications.
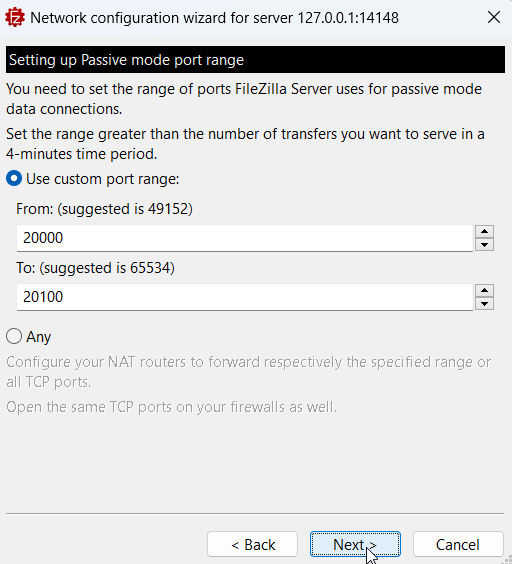 Configure the FileZilla Passive Mode Port Range.Configure the Windows Firewall
After configuring the passive mode port range, we need to configure the Windows Firewall to open FTP port 21 and the passive mode port range we configured.
In the Windows Firewall, go to "Advanced settings", right-click "Inbound Rules", and choose "New Rule…".
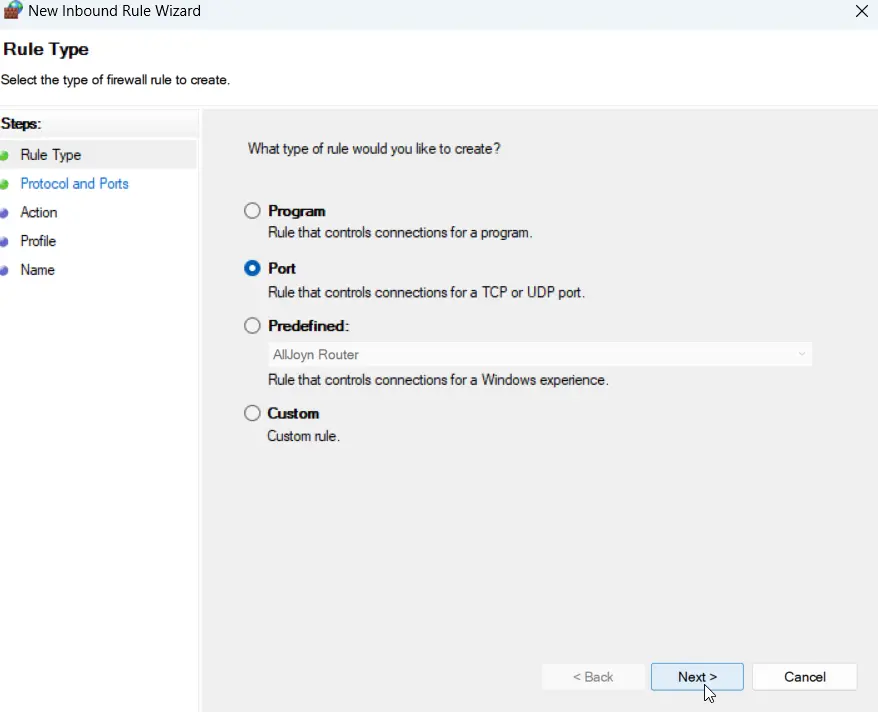
In the rule wizard, when it asks for the 'rule type,' choose Port. Then, for the specific ports, you'll need to enter two parts. First, enter port 21 for the standard FTP connection. Then, you'll also need to specify the passive mode port range we configured earlier.
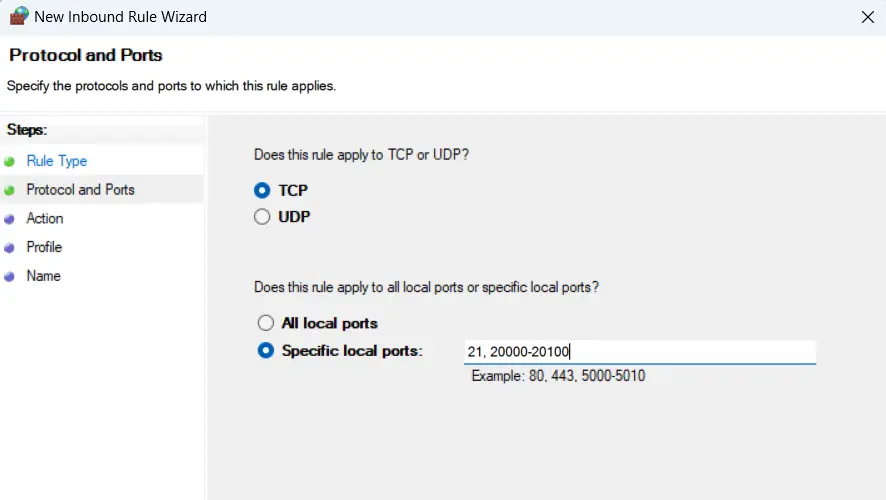 Open FTP port 21 and the passive mode port range in Windows Firewall.Add FTP Users
The last step is to configure users who can connect remotely. To do this, open the administrator interface, go to Server, and click Configure.
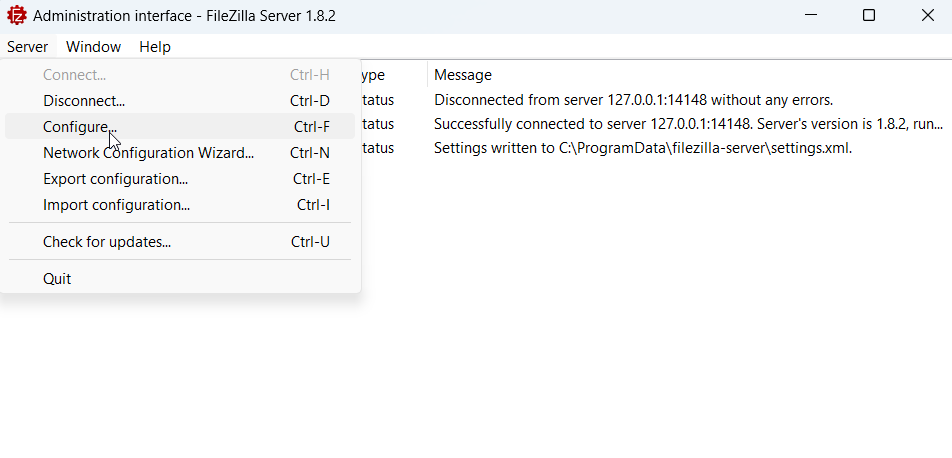
In the Users section, you have two options: you can use your Windows user account, or you can add dedicated FTP users.
If you're going to use your Windows account, select "System user" and activate the "User is enabled" checkbox. Don't forget to apply the changes once you're done.
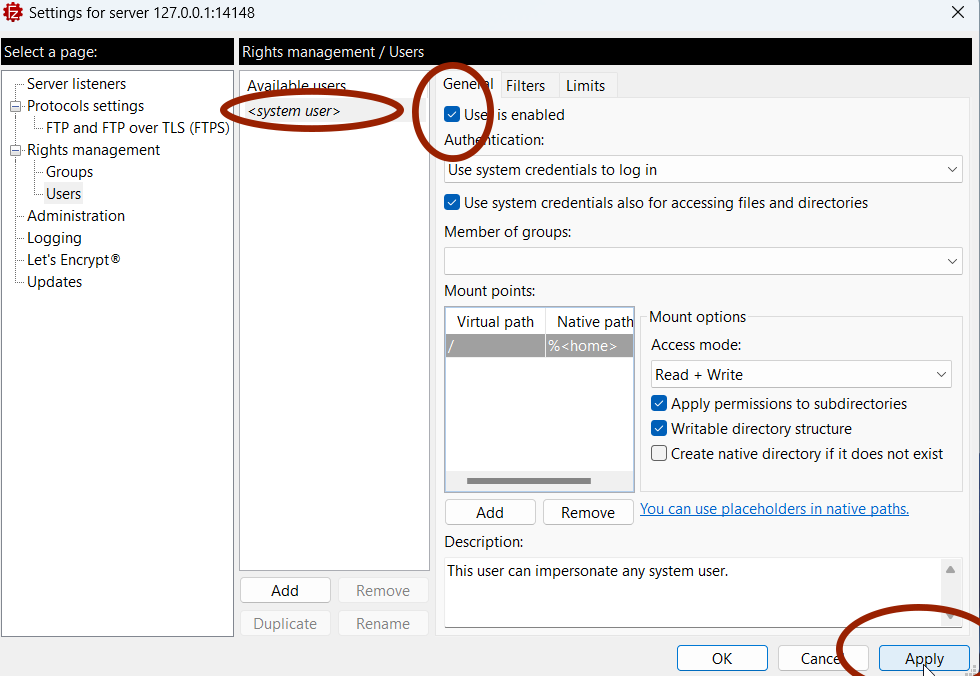 Log in to the FTP server using your Windows user account.
However, it's important to remember that this method grants access to your entire Windows user profile. This might not be ideal for security reasons. For better security, it's highly recommended to create dedicated FTP users instead.
To create a dedicated FTP user, under Users, click on the "Add" button. Make sure that the user needs a password to log in.
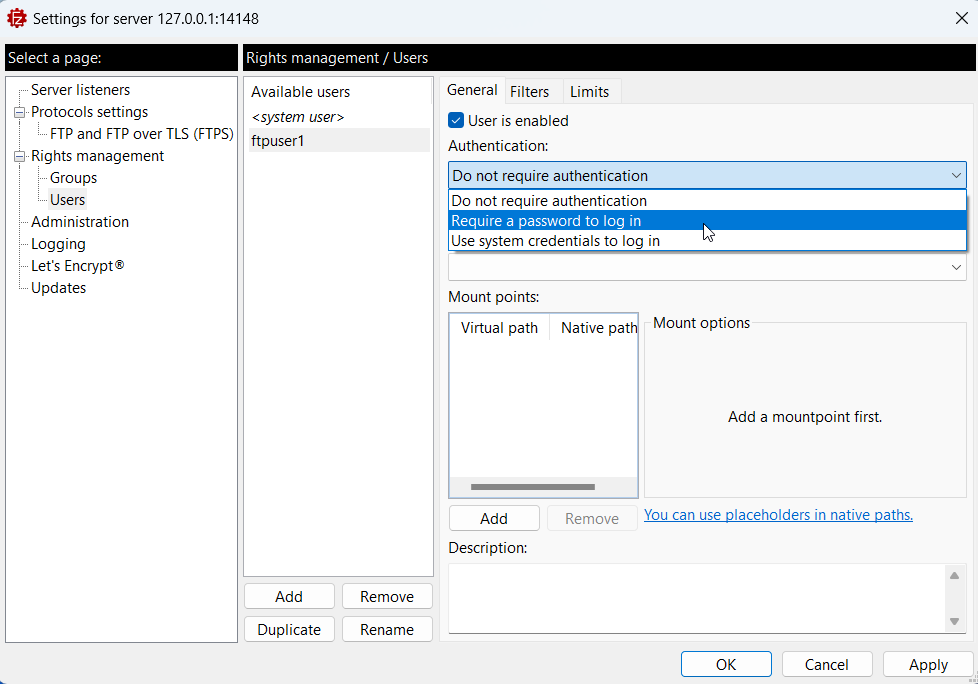 Create a dedicated FTP user.
Next, we need to add at least one folder that the user can access. When adding a folder, you'll specify a Virtual path and a Native path.
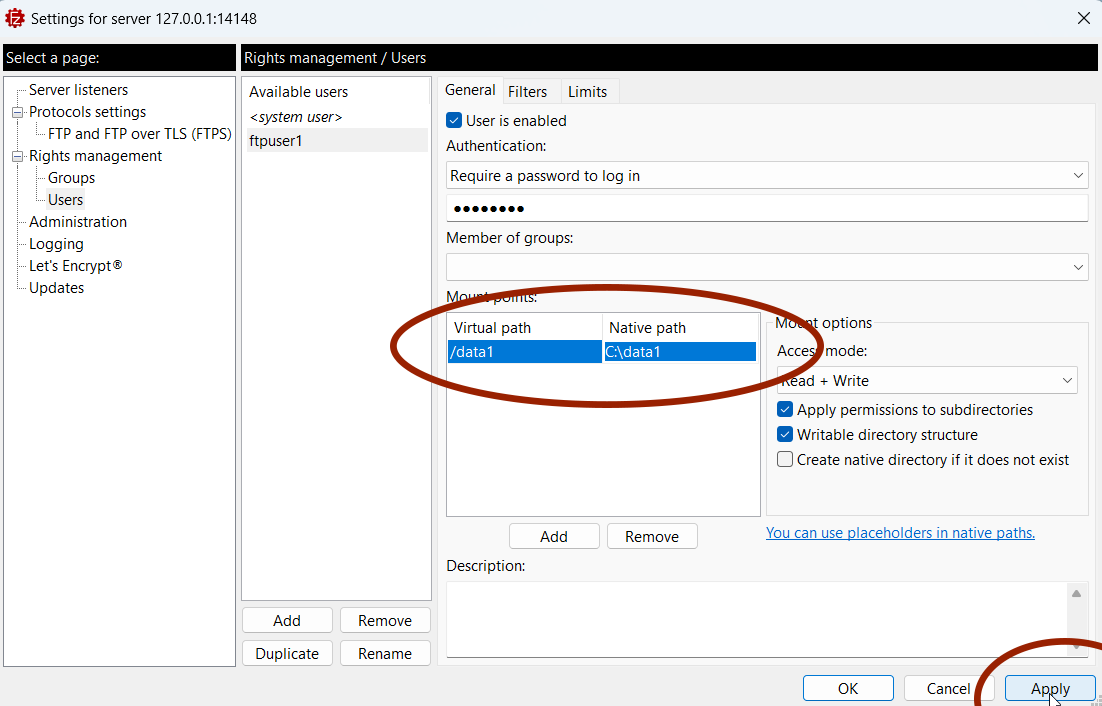 Add folders that the user can access remotely.
Native Path: This is the actual location of the folder on your computer. For example, you might enter "C:\data1" if that's the folder you want to add.
Virtual Path: This is a user-friendly name that starts with a forward slash (/). For example, you could name it "/data1".
And don't forget to click the Apply button to save the configuration.
Now you should be able to connect to the FTP server using either your Windows user account or the FTP user account, depending on your preference.
Managing FileZilla FTP ServiceYou can start and stop the FileZilla service using shortcuts located in the Start menu. This is a quick way to manage the server without needing to delve into command prompts.
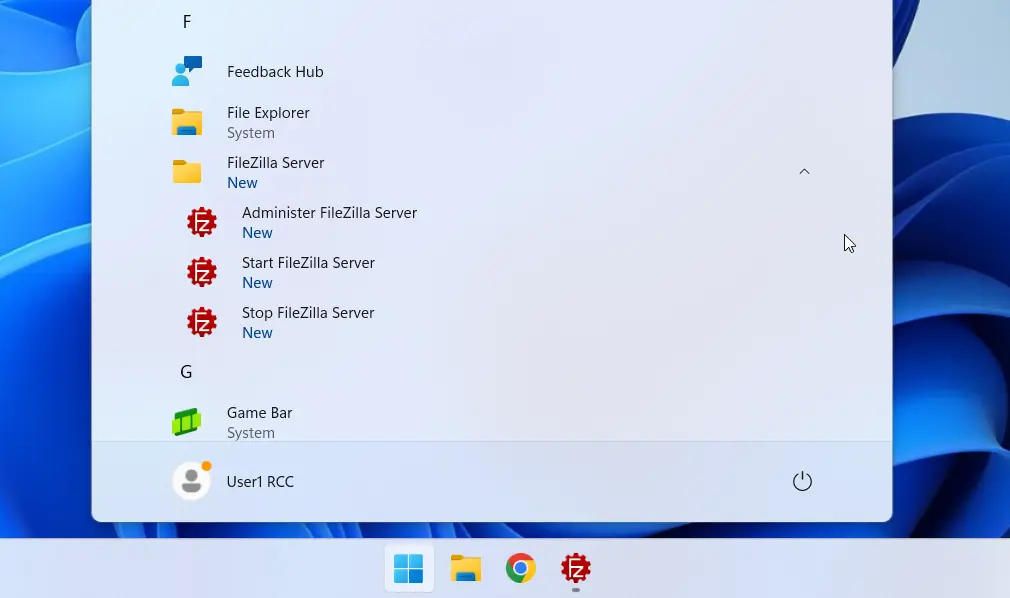 Start menu shortcuts
Alternatively, you can use the net stop and net start commands from the command prompt or PowerShell to stop and start the FTP server.
To start FileZilla server, type:
net start filezilla-serverTo stop FileZilla server, type:
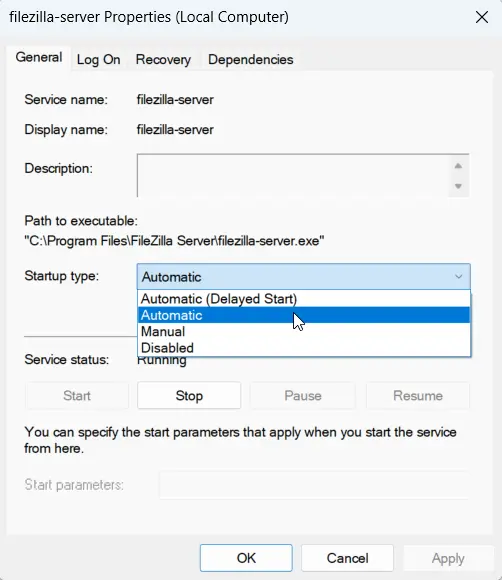
net stop filezilla-serverManaging FileZilla Server StartupDuring the installation, we set the FTP server to start automatically when Windows starts. You can change this to Manual if you prefer to start the server service only when needed.
Open the Windows Services window by pressing the Windows key + R, typing "services.msc", and pressing Enter.
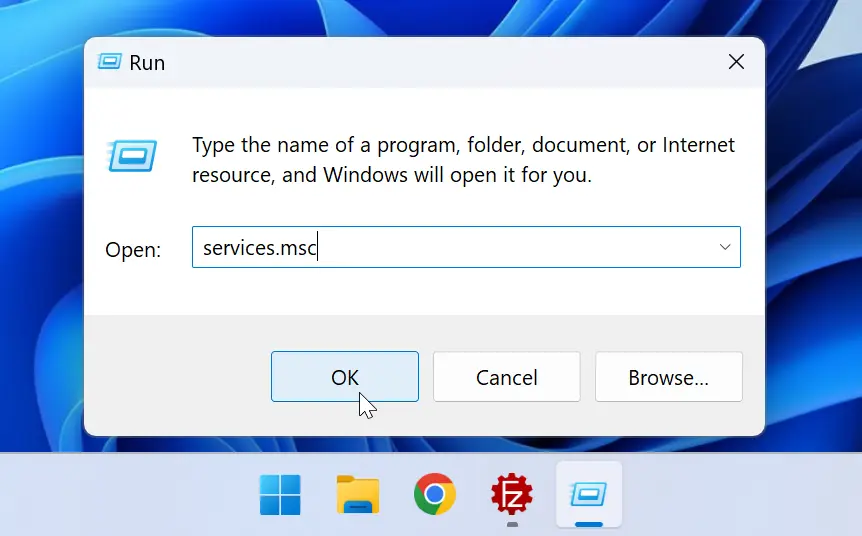
In the Services window, double-click the "filezilla-server" service to open its Properties.
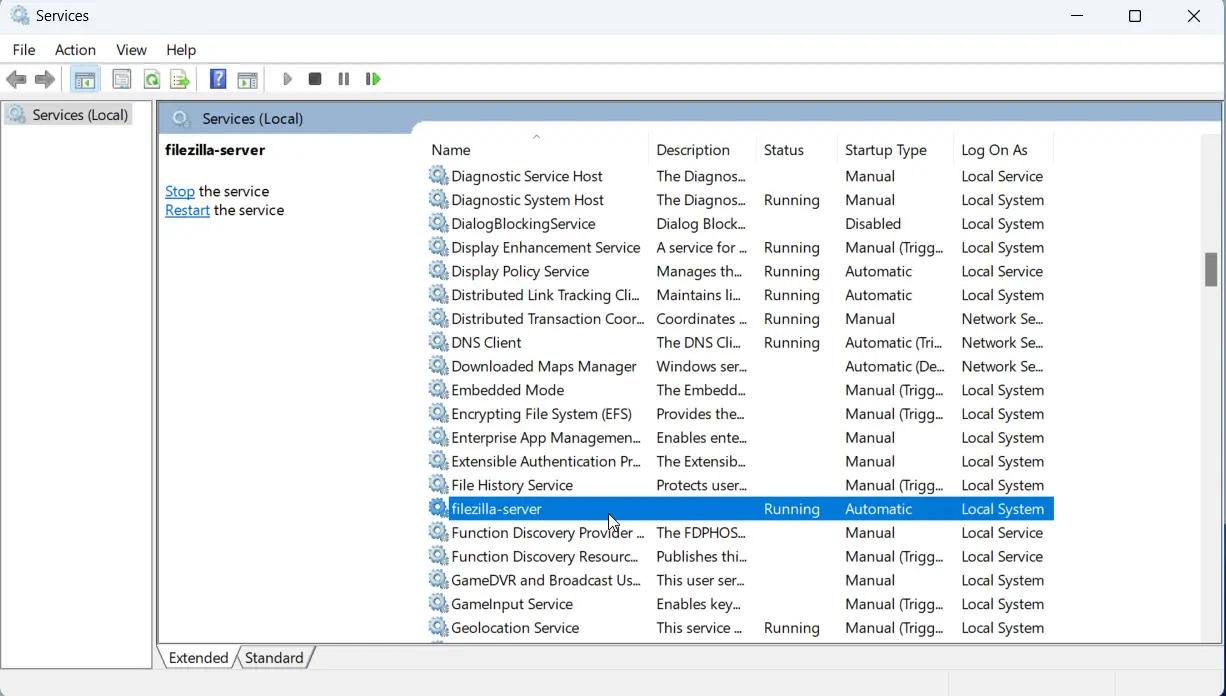 FileZilla Server service
In the Properties window, locate the "Startup type" dropdown menu and choose the desired startup type.
Automatic: The FTP server will start automatically whenever Windows starts.Manual: The FTP server will not start automatically. You will need to start it manually using either the Start menu shortcut or the command prompt.